How to Register
To register online for classes at CT State, please follow these easy steps:
1. Log into myCTState
2. Navigate to the card titled “Student Self-Service.”
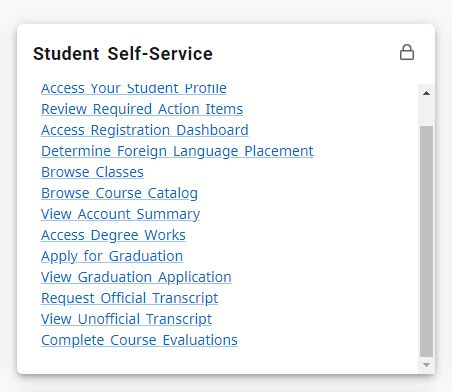
Note: If this is the first time you are accessing registration through myCTState, you may be asked to address an action item. Please click on the link that says “Review Required Action Items”. An example of an action item is to review and acknowledge the Student Enrollment Agreement. Once the action items are completed, you can continue to follow the steps to register. Use the “Continue” button to return to the registration process.
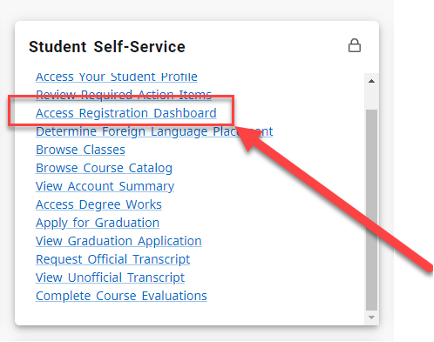
3. Select the link titled “Access Registration Dashboard.”
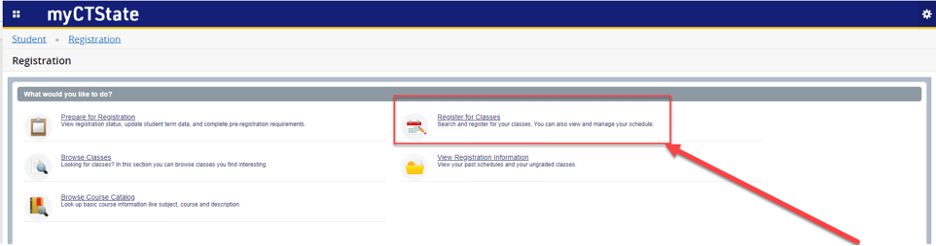
4. Select the link titled “Register for Classes.”
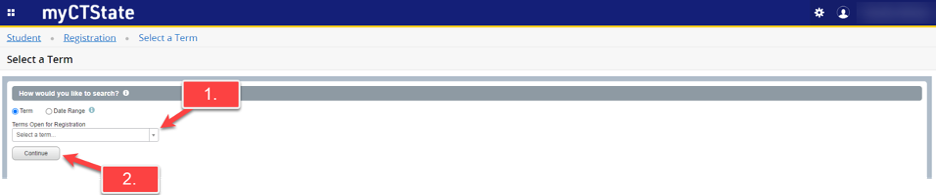
5. Select the term you want to register for from the dropdown menu titled “Terms Open for Registration,” then click the “Continue” button.
6. Select which option to register for class(s).
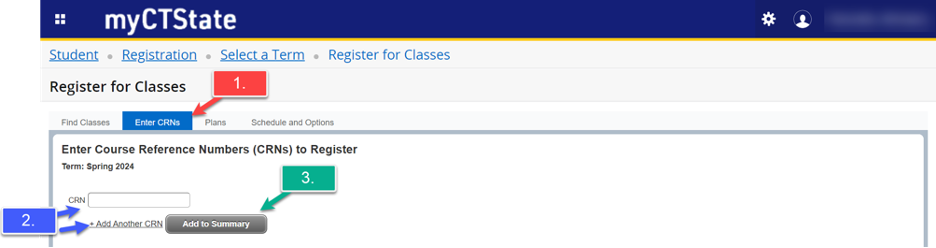
Option 1. - This option will allow you to type in individual CRNs
- Select the tab titled “Enter CRNs.”
- Enter the CRN. (To add multiple CRNs at once, click the “+ Add Another CRN” link.
- Click the “Add to Summary” button.
Option 2. – This option will allow you to search for a course/CRN in the class search then add the CRN to the registration page through the class search option.
- Enter the course search parameters.
- Then click the “Search” button.
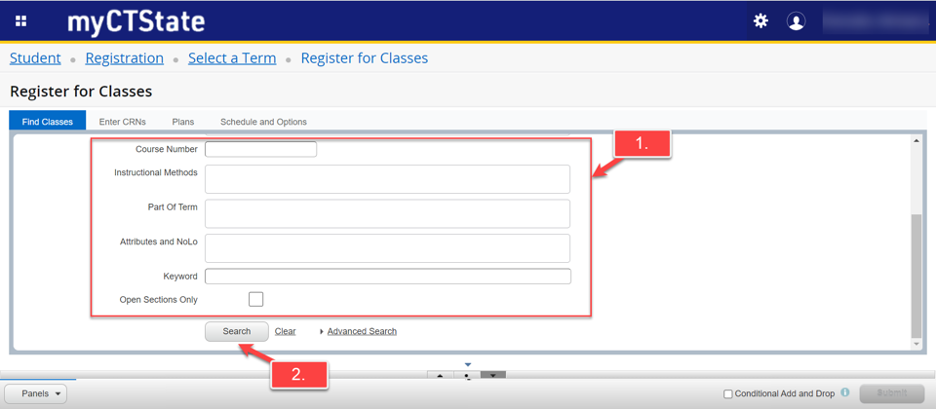
3. Once you find the CRN you want, click the “Add” button.

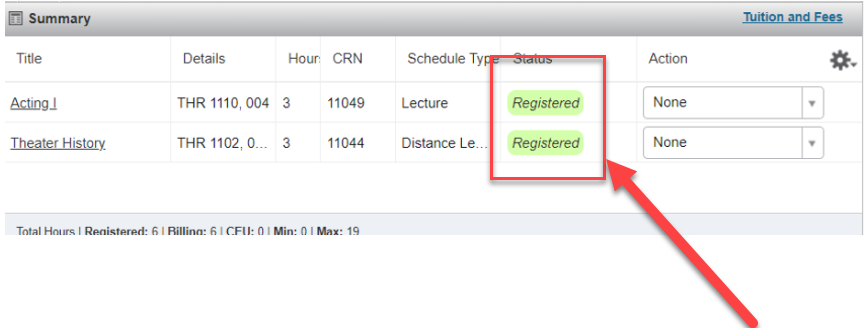
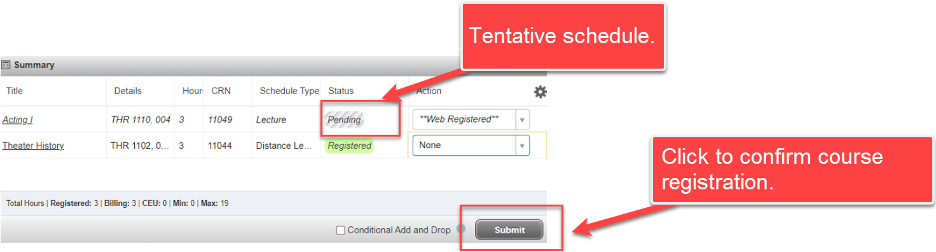
7. Once you click the “Add to Summary” button (option 1) or the “Add” button (option 2), your tentative schedule will display as “Pending” under the “Status” column. To confirm registration for the selected CRN(s), click the “Submit” button.
You are not confirmed for the class(s) until you click the “Submit” button and you see the status change from “Pending” to “Registered.”
Note: If interested in adding a Foreign Language course, you need to complete the Languages and Cultures Questionnaire before you can enroll.
8. When the status changes to “Registered,” your course registration is confirmed.